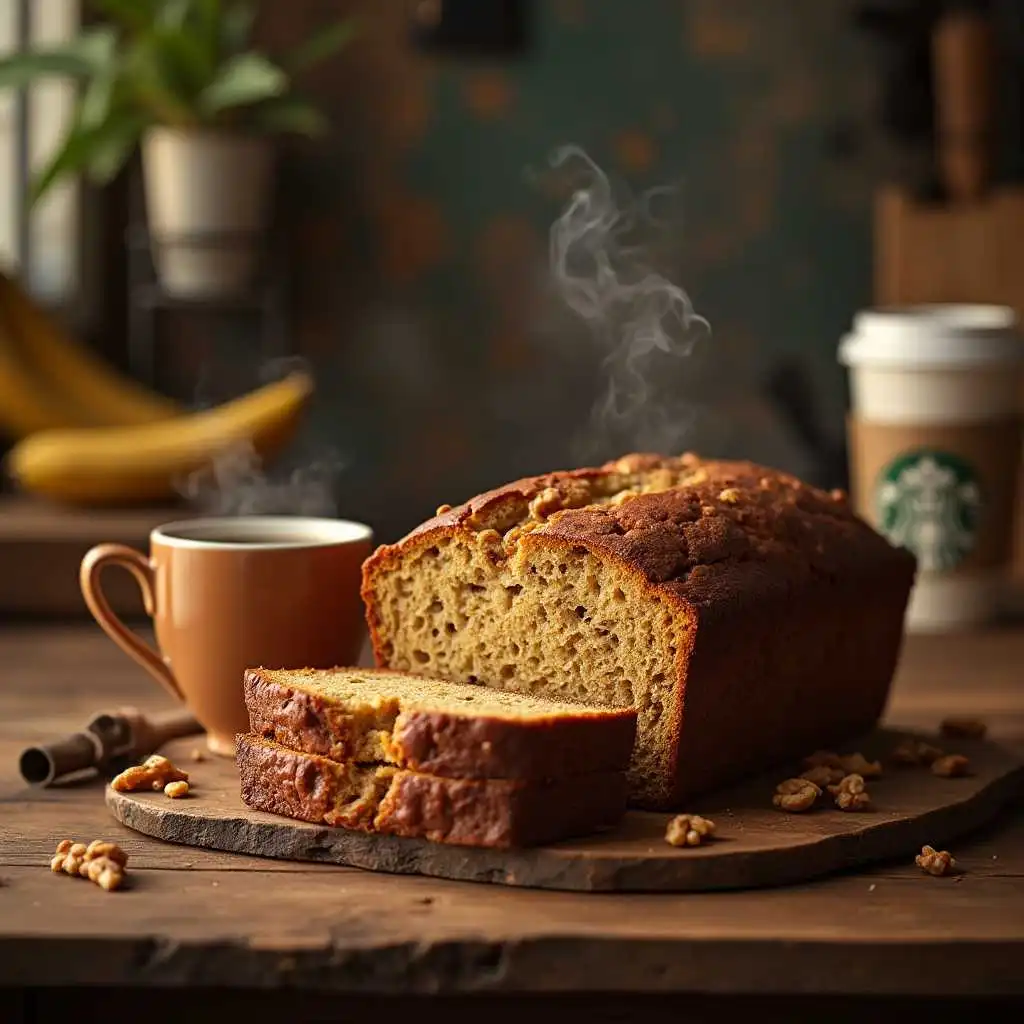
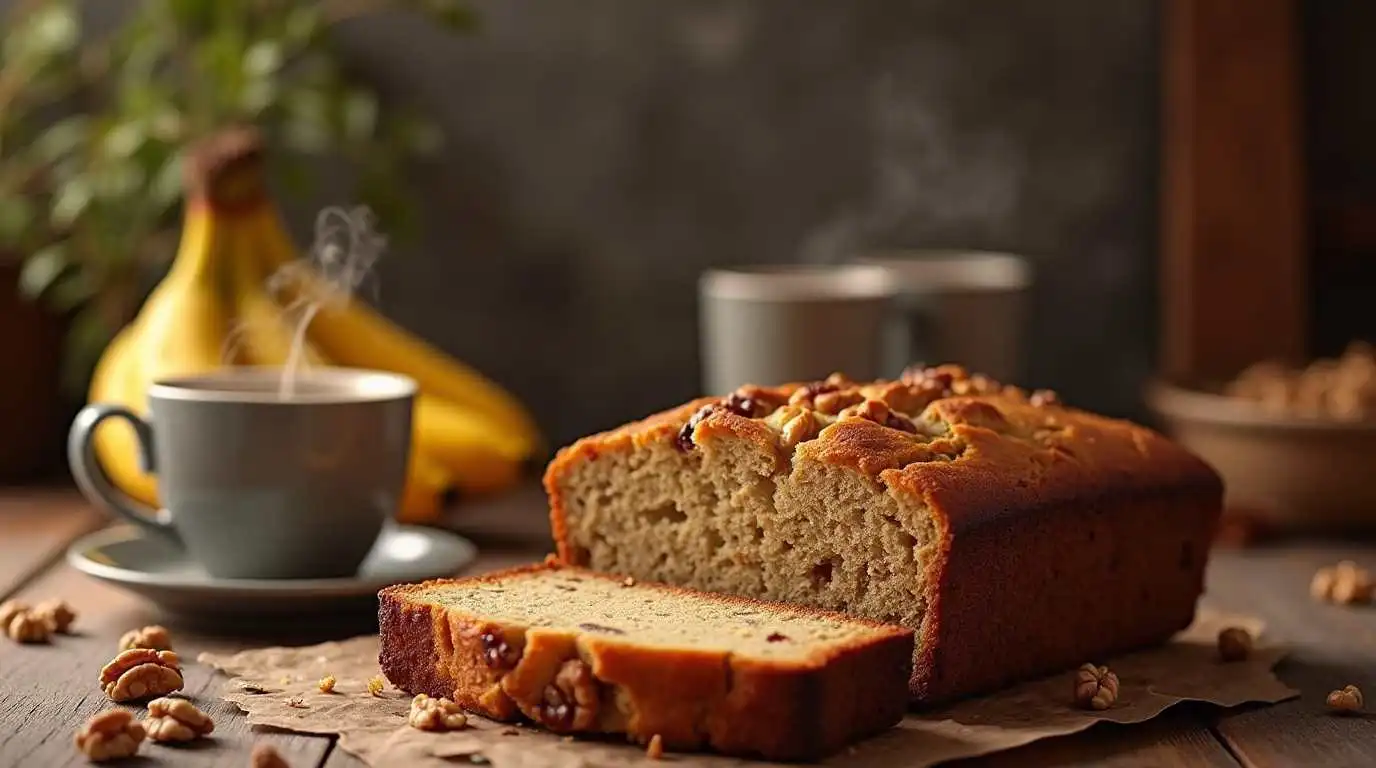
Starbucks Banana Nut Bread Recipe – Few things bring as much comfort as the smell of freshly baked banana bread wafting through your home. Starbucks’ banana nut bread, known for its moist texture and rich, nutty flavor, has captured the hearts of many coffee lovers. But what if you could recreate this delight in your kitchen? Imagine the joy of baking your very own loaf, complete with the signature taste and aroma of the Starbucks original. This guide walks you through every step to ensure your homemade banana nut bread is nothing short of perfection.
Table of Contents
Why You’ll Love Making Starbucks Banana Nut Bread at Home
A Nostalgic Slice
Food has the power to transport us back in time, evoking cherished memories through taste and aroma. Starbucks banana nut bread is no exception—it’s the perfect blend of comfort and flavor. Recreating it at home allows you to enjoy that same sense of nostalgia, whether it reminds you of quiet mornings with a cup of coffee or leisurely afternoons catching up with friends. Baking it yourself adds an extra layer of satisfaction, as you infuse each slice with your own care and attention to detail.
Moreover, homemade banana nut bread gives you the freedom to share this experience with loved ones. Bake a loaf for your family, bring it to a potluck, or gift it to a friend. Every slice becomes a gesture of thoughtfulness and a symbol of shared moments.
Savings Without Sacrificing Quality
Visiting Starbucks for your favorite treat is a small joy, but the costs can quickly add up. With a homemade version, you can enjoy the same rich flavors at a fraction of the price. This recipe empowers you to create a bakery-quality loaf in your own kitchen, all while sticking to your budget.
Homemade banana nut bread also means no compromises on quality. You control the ingredients, ensuring they’re fresh and tailored to your preferences. By skipping the additives and preservatives often found in store-bought goods, you’re left with a wholesome and delicious treat that’s worth every bite.
Tailored to Your Needs
The beauty of baking at home lies in the endless possibilities for customization. Love your bread on the sweeter side? Add an extra drizzle of honey or sprinkle of chocolate chips. Prefer a healthier alternative? Swap out refined sugar for coconut sugar or use whole wheat flour in place of all-purpose flour.
Dietary restrictions are no barrier, either. This recipe can easily be adapted for gluten-free, dairy-free, or vegan lifestyles. Experiment with substitutions, like almond flour or flax eggs, and discover how small tweaks can yield big flavor. With homemade banana nut bread, you’re in charge of creating the perfect loaf for your taste and needs.
Ingredients for Your Homemade Starbucks Banana Nut Bread
The Essential Components
The secret to recreating Starbucks’ signature banana nut bread lies in carefully chosen ingredients. Each plays a crucial role in achieving the ideal texture, flavor, and aroma that make this loaf irresistible.
| Ingredient | Measurement | Purpose |
|---|---|---|
| Ripe Bananas | 3 medium-sized | Adds sweetness and moisture |
| All-Purpose Flour | 1 3/4 cups | Forms the bread’s structure |
| Baking Soda | 1 teaspoon | Achivses the bread rise |
| Salt | 1/2 teaspoon | Balances flavors |
| Granulated Sugar | 1 cup | Sweetens the bread |
| Eggs | 2 large | Provides richness and binds ingredients |
| Unsalted Butter (melted) | 1/3 cup | Adds a buttery flavor and moisture |
| Vanilla Extract | 1 teaspoon | Enhances the overall taste |
| Chopped Walnuts | 1/2 cup | Adds crunch and nuttiness |
Ingredient InsightsF
- Ripe Bananas: Overripe bananas are a non-negotiable. The natural sugars concentrated in those dark, spotted bananas bring an unparalleled sweetness to your bread. If you’re short on time, ripen bananas quickly by placing them in a brown paper bag or baking them at 300°F for 15 minutes.
- Butter vs. Oil: While butter lends a rich, creamy flavor, some bakers prefer vegetable oil for a softer, moister crumb.Don’t hesitate to try different options to discover what suits your taste best.
- Walnuts: Toasting your walnuts beforehand takes them to the next level. It deepens their flavor and enhances their crunch, making every bite more satisfying.
Step-by-Step Guide to Recreating Starbucks Banana Nut Bread


Prepare Your Workspace
Preparing to bake isn’t just about mixing ingredients; it’s about setting yourself up for a smooth and enjoyable process. Organize your ingredients and clean your workspace beforehand to make the baking experience seamless and stress-free. Gather all your ingredients and tools in advance so you’re not scrambling midway through the process. Preheating your oven to 325°F (163°C) is crucial—this allows it to reach the right temperature for consistent baking.
Prepare a 9×5-inch loaf pan by coating it with a light layer of grease and dusting it with flour, or use parchment paper for a hassle-free release. A properly prepared pan prevents sticking and guarantees a smooth, hassle-free presentation.
Mixing the Ingredients
- Mash the Bananas:
Using a fork, mash the bananas in a large bowl until smooth. The consistency doesn’t need to be perfect; a few small chunks add a delightful burst of banana flavor in the finished loaf. - Combine Dry Ingredients:
In a medium bowl, combine the flour, baking soda, and salt by whisking them together until well-blended. Whisking aerates the mixture, ensuring a light, evenly mixed batter. - Blend Wet Ingredients:
In another large bowl, beat the sugar and eggs until the mixture turns pale and slightly fluffy. This step helps incorporate air, resulting in a tender loaf. Slowly add the melted butter and vanilla extract, mixing until smooth. - Incorporate Dry into Wet:
Slowly fold the dry ingredients into the wet mixture, using gentle strokes to avoid overmixing. Mix just until the flour disappears—overmixing can lead to a dense loaf. - Fold in Bananas and Walnuts:
Gently fold in the mashed bananas and walnuts, distributing them evenly throughout the batter. The goal is a cohesive mixture that retains its airy texture.
Bake to Perfection
- Transfer the batter into the prepared loaf pan, making sure it’s evenly distributed.
- Bake for 60–70 minutes, rotating the pan halfway through for even cooking. Test the bread for doneness by inserting a toothpick into the center; it should come out clean or with a few crumbs. If it emerges clean or with a few moist crumbs, the bread is fully baked.
- Allow the banana bread to rest in the pan for about 10 minutes before gently transferring it to a wire rack to cool completely. This cooling period allows the loaf to set, making slicing easier.
Tips for a Perfect Loaf
Mastering Moisture and Texture
Achieving the ideal moisture level is key to creating irresistible banana nut bread. Use ripe bananas, as their natural sugars and high moisture content ensure a soft crumb. Incorporate melted butter for added richness, and avoid overbaking to prevent dryness.
Enhancing Flavor
Adding a pinch of cinnamon or nutmeg can elevate the flavor profile of your bread, lending it a warm, spiced undertone. If you’re a fan of bold flavors, consider mixing in a handful of dark chocolate chips or a swirl of peanut butter. These simple additions can transform your bread into a gourmet treat.
The Importance of Cooling
Allowing the bread to cool fully before slicing is essential. Cutting too soon can result in a crumbly texture and uneven slices. Patience pays off here, as a properly cooled loaf is easier to handle and presents beautifully.
FAQs About Starbucks Banana Nut Bread Recipe
Can I Make This Recipe Vegan?
Yes! Replace eggs with flax eggs (1 tablespoon flaxseed meal + 3 tablespoons water per egg), and use plant-based butter. For a creamy touch, swap melted butter for coconut oil or a neutral vegetable oil. These substitutions maintain the rich, moist texture while keeping the recipe vegan-friendly.
What’s the Best Way to Make It Gluten-Free?
Gluten-free baking requires precision, and a good-quality flour blend is key. Opt for a 1-to-1 gluten-free mix with xanthan gum, which provides elasticity similar to gluten. Experimenting with almond flour or oat flour is also an option, though additional binders may be necessary to hold the loaf together.
Can I Freeze Banana Nut Bread?
Yes! Freezing banana nut bread is an excellent way to preserve freshness. Slice the bread before freezing, then individually wrap each slice in plastic wrap for easy storage. Place the wrapped slices in an airtight container or freezer bag, and freeze for up to three months. Thaw slices at room temperature or warm them in the microwave before enjoying.
Conclusion: Your Homemade Starbucks Moment Awaits
Recreating Starbucks banana nut bread at home is an exercise in love and creativity. From the sweet aroma of ripe bananas to the satisfying crunch of toasted walnuts, every step brings you closer to a bakery-quality treat. Not only do you save money, but you also gain the satisfaction of crafting something truly special.
Whether you’re sharing it with friends or enjoying it solo alongside a cup of coffee, this homemade banana nut bread is sure to brighten your day. Put on your apron, preheat the oven, and get ready to start baking your delicious banana nut bread!
Your kitchen is calling. Will you answer? Start baking today and discover the joy of a perfect homemade match.


2 thoughts on “5 Simple Steps to Perfecting the Delicious Starbucks Banana Nut Bread Recipe at Home”