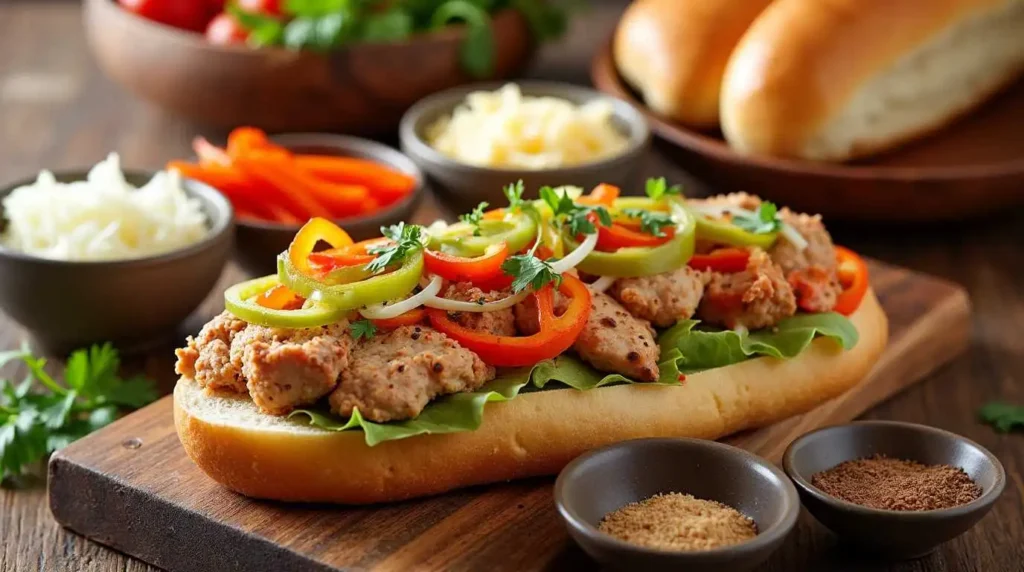
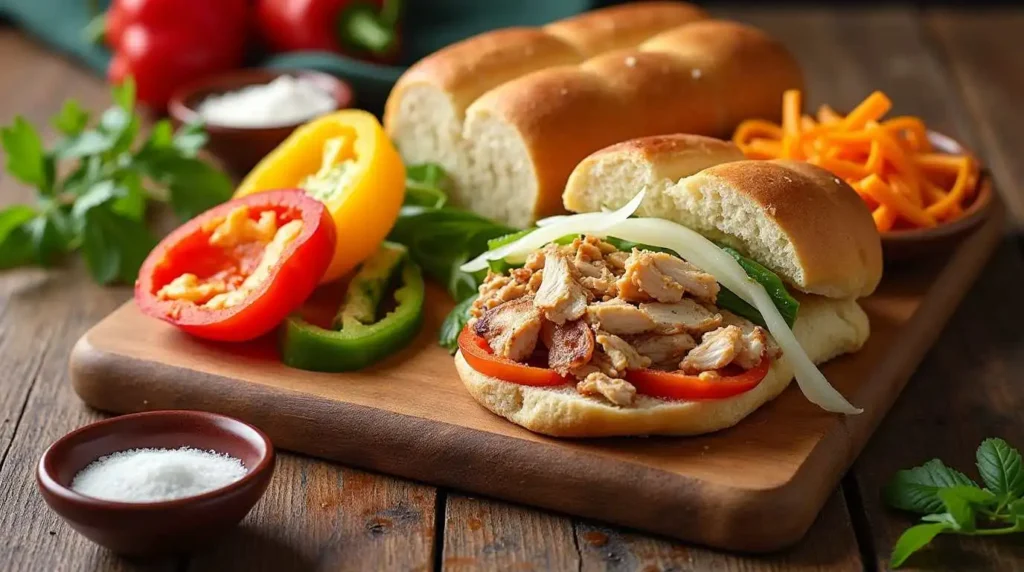
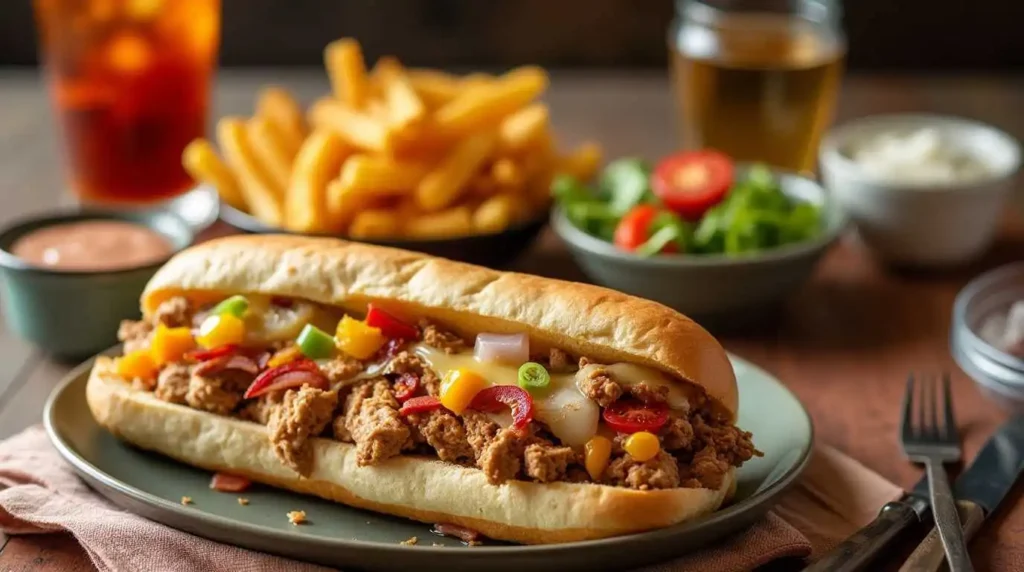
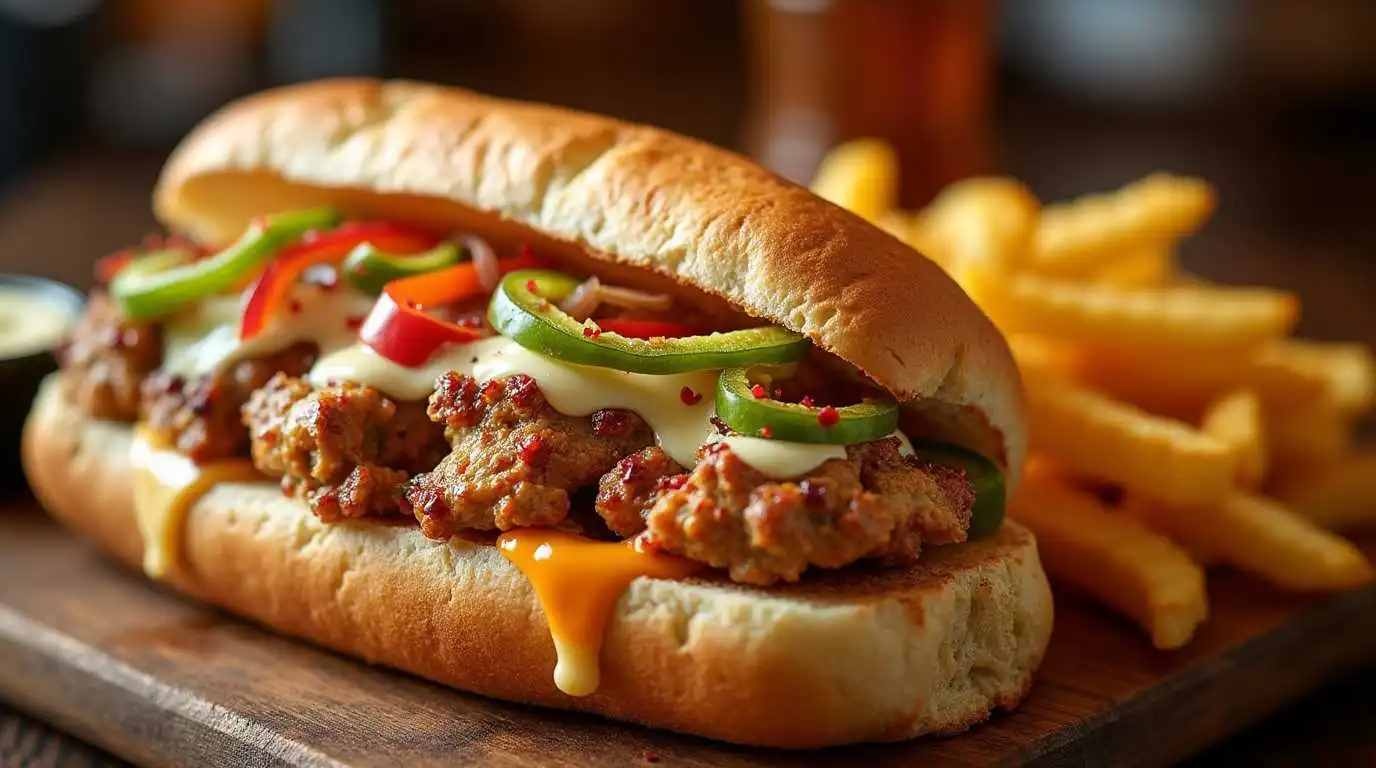
Craving a delectable meal that combines simplicity with rich flavors? Consider the Chicken Philly Cheesesteak recipe for your next meal. This delightful twist on a Philadelphia classic offers a healthier alternative without compromising on taste. In just 30 minutes, you can craft a satisfying and nutritious sandwich, making it an ideal choice for busy weeknights.
Table of Contents
Understanding the Chicken Philly Cheesesteak Recipe Phenomenon
A Brief History of the Philly Cheesesteak’s Origins
The Philly cheesesteak traces its roots back to the 1930s in Philadelphia. Pat Olivieri, a hot dog vendor, decided to grill thinly sliced beef and serve it on an Italian roll, inadvertently creating a culinary icon. The addition of cheese came later, with provolone being one of the first choices. Over time, this sandwich has seen numerous adaptations, including the incorporation of chicken as a leaner protein option.
Why Choose Chicken Over Beef? Health and Flavor Benefits
Opting for chicken instead of beef in your cheesesteak offers several advantages. Chicken is lower in saturated fats and calories, making it a heart-friendly choice. Additionally, it provides a neutral canvas that absorbs flavors exceptionally well, allowing the sautéed vegetables and melted cheese to shine. This variation caters to those seeking a lighter yet equally indulgent version of the traditional cheesesteak.

Key Components for Crafting the Ultimate Chicken Philly Cheesesteak
Selecting the Best Chicken: Breast vs. Thighs
When choosing chicken for your cheesesteak, both breasts and thighs have their merits. Chicken breasts are leaner and offer a tender texture, while thighs are slightly fattier, providing a juicier bite. Your selection can depend on personal preference; however, thinly slicing either cut ensures quick cooking and optimal tenderness.
Must-Have Vegetables: Peppers, Onions, and Beyond
A quintessential Chicken Philly Cheesesteak features sautéed bell peppers and onions. These vegetables impart sweetness and a slight crunch, complementing the savory chicken. Feel free to experiment with additions like mushrooms, which introduce an earthy depth, or jalapeños for a spicy kick, customizing the sandwich to your palate.
Selecting the Ideal Cheese: Provolone, American, or Cheez Whiz?
Cheese selection significantly influences the flavor profile of your sandwich. Provolone offers a mild, slightly smoky taste, melting beautifully over the chicken. American cheese provides a creamy texture and subtle flavor, while Cheez Whiz delivers a tangy, processed cheese experience. Each option brings a unique character, so choose according to your taste preferences.
The Ideal Bread: Hoagie Rolls and Their Alternatives
The bread serves as the cornerstone of any exceptional cheesesteak. Traditional hoagie rolls are ideal, offering a sturdy yet soft vessel that holds the fillings without becoming soggy. If hoagie rolls are unavailable, consider alternatives like Italian sub rolls or even ciabatta, ensuring they are slightly toasted to add texture and prevent excessive absorption of juices.

Step-by-Step Guide to Crafting Your Sandwich in 30 Minutes
Prepping Your Ingredients: Time-Saving Tips
Efficiency is key when preparing this meal. Begin by assembling all ingredients and tools. Partially freezing the chicken for about 15 minutes can facilitate thinner slicing. Simultaneously, slice your vegetables uniformly to ensure even cooking. Organizing these components beforehand streamlines the cooking process, allowing you to maintain a steady workflow.
Cooking the Chicken to Juicy Perfection
Pour a tablespoon of olive oil into a skillet and heat it over medium-high heat. Season the thinly sliced chicken with salt, pepper, and a touch of garlic powder. Add the chicken to the skillet, spreading it in an even layer. Allow it to sear undisturbed for 2-3 minutes to develop a golden-brown crust before stirring. Continue cooking until fully cooked, approximately 5-6 minutes, ensuring the chicken remains tender and juicy.
Sautéing Vegetables for Optimal Flavor and Texture
In the same skillet, add a small amount of butter or additional olive oil if needed. Introduce the sliced onions and bell peppers, seasoning lightly with salt and pepper. Sauté over medium heat until the vegetables become tender and slightly caramelized, about 5-7 minutes. This process enhances their natural sweetness, adding depth to your sandwich.
Assembling the Sandwich: Layering Techniques for Even Flavor Distribution
To construct your sandwich, begin by placing a generous portion of the cooked chicken onto the bottom half of the toasted hoagie roll. Top with the sautéed vegetables, ensuring an even spread for balanced flavor in each bite. Finally, layer your chosen cheese over the vegetables, allowing it to melt slightly from the residual heat. Crown with the top half of the roll, pressing gently to secure the fillings.
Achieving the Perfect Melt: Tips for Gooey, Delicious Cheese
For an indulgent, melted cheese experience, place the assembled sandwiches on a baking sheet and broil in the oven for 2-3 minutes until the cheese bubbles and melts. Alternatively, cover the skillet with a lid after adding the cheese to the chicken and vegetables, allowing the steam to facilitate melting. Monitor closely to prevent overcooking.
Tips and Tricks for a Seamless Cooking Experience
Knife Skills: Slicing Chicken and Vegetables Efficiently
Employ a sharp knife for precise, thin slices of chicken and vegetables. Uniformity in size ensures even cooking and enhances the sandwich’s texture. Practicing proper knife techniques can improve efficiency and safety in the kitchen.
Utilizing Kitchen Tools: Skillets, Griddles, and Sandwich Presses
A heavy-bottomed skillet or cast-iron griddle provides even heat distribution, essential for searing the chicken and vegetables to perfection. If you own a sandwich press, it can be used to toast the assembled sandwich, compressing the ingredients for a cohesive bite and melted cheese throughout.
Time Management: Coordinating Cooking Steps for a 30-Minute Meal
To achieve a 30-minute preparation time, multitask by sautéing vegetables while the chicken cooks. Toast the hoagie rolls in the oven as you assemble the fillings. Efficient coordination of these steps ensures a swift and seamless cooking experience.
Customizing Your Cheesesteak: Adding Mushrooms, Jalapeños, or Sauces
Personalize your Chicken Philly Cheesesteak by incorporating additional ingredients. Sautéed mushrooms add an earthy flavor, while jalapeños introduce heat. Consider condiments like mayonnaise, hot sauce, or aioli to enhance the sandwich further.

Serving Suggestions to Complete Your Meal
Perfect Pairings: Side Dishes Like Fries, Tater Tots, or a Fresh Salad
Complement your sandwich with classic sides such as crispy fries or tater tots. For a lighter option, a fresh garden salad with a tangy vinaigrette balances the richness of the cheesesteak.
Beverage Recommendations: From Classic Sodas to Craft Beers
Pair your meal with a refreshing beverage. Traditional choices include cola or root beer. For an adult twist, consider a crisp lager or pale ale to complement the savory flavors.
Presentation Ideas: Plating Techniques to Impress Your Guests
Elevate your presentation by serving the sandwich on a wooden board, accompanied by neatly arranged sides. Garnish with a pickle spear or a sprinkle of fresh herbs for a touch of color.
Storing and Reheating Leftovers Without Compromising Quality
Proper Storage Techniques to Maintain Freshness
To preserve the quality of your Chicken Philly Cheesesteak, store the components separately. Place the cooked chicken and sautéed vegetables in an airtight container, and refrigerate for up to 3 days. Keep the hoagie rolls in a sealed bag at room temperature to prevent them from becoming soggy.
Reheating Methods: Oven, Microwave, or Skillet?
For optimal results, reheat the chicken and vegetable mixture in a skillet over medium heat until warmed through. Alternatively, use a microwave, covering the container with a damp paper towel to retain moisture. If you prefer a crispier texture, spread the mixture on a baking sheet and warm it in a preheated oven at 300°F (150°C) for about 10 minutes. Once heated, assemble the sandwich with fresh hoagie rolls and cheese.
Creative Ways to Repurpose Leftovers: Think Quesadillas or Nachos
Transform your leftover Chicken Philly Cheesesteak filling into new dishes. Use it as a topping for nachos, adding jalapeños and melted cheese for a zesty snack. Alternatively, create quesadillas by placing the mixture between tortillas with extra cheese, then grilling until golden and crispy. These inventive options ensure that no delicious morsel goes to waste.
FAQ
Can I Make This Recipe Ahead of Time?
The chicken and vegetable filling can be made in advance. Keep it sealed in an airtight container and refrigerate for no more than 3 days. When ready to serve, reheat the filling, assemble the sandwiches with fresh hoagie rolls and cheese, and enjoy a quick meal.
How can I modify the recipe to accommodate dietary restrictions?”
To accommodate dietary needs, consider using whole-grain or gluten-free hoagie rolls for those with gluten sensitivities. For a lower-fat option, select reduced-fat cheese and lean chicken breast. Vegetarians can substitute the chicken with plant-based proteins like seitan or portobello mushrooms, ensuring a satisfying alternative.
What Are Some Vegetarian Alternatives to This Recipe?
For a vegetarian version, replace the chicken with hearty vegetables such as portobello mushrooms, zucchini, or eggplant. Sauté these vegetables until tender, and proceed with the recipe as usual, incorporating your choice of cheese and toppings. This adaptation offers a flavorful and meatless take on the classic sandwich.
How Do I Prevent the Sandwich from Becoming Soggy?
To avoid a soggy sandwich, toast the interior of the hoagie rolls before assembling. Additionally, allow any excess liquid to evaporate during cooking to ensure that the chicken and vegetable filling is not overly moist. Assembling the sandwich just before serving also helps maintain the bread’s integrity.
Can I Grill the Sandwich Instead of Using a Skillet?
Absolutely! After assembling the sandwich, you can grill it using a panini press or countertop grill. This method will toast the bread and melt the cheese uniformly, adding a delightful crunch to each bite. Monitor the sandwich closely to prevent over-grilling, which can lead to dryness.
Conclusion
By following this comprehensive guide, you’ll be well on your way to creating the perfect Chicken Philly Cheesesteak in just 30 minutes, delighting your taste buds and those of your loved ones.


2 thoughts on “Perfect Chicken Philly Cheesesteak Recipe in 30 Minutes”