Whipped honey has become a culinary treasure, celebrated for its luscious texture and endless versatility. While the introduction sets the stage for your journey into this delightful creation, the real magic happens in the process, the possibilities, and the practicality of making whipped honey at home. Let’s dive deeper into the details and explore every aspect of this sweet craft, ensuring you’re equipped with all the knowledge you need to create something extraordinary.
Table of Contents
What Is Whipped Honey?
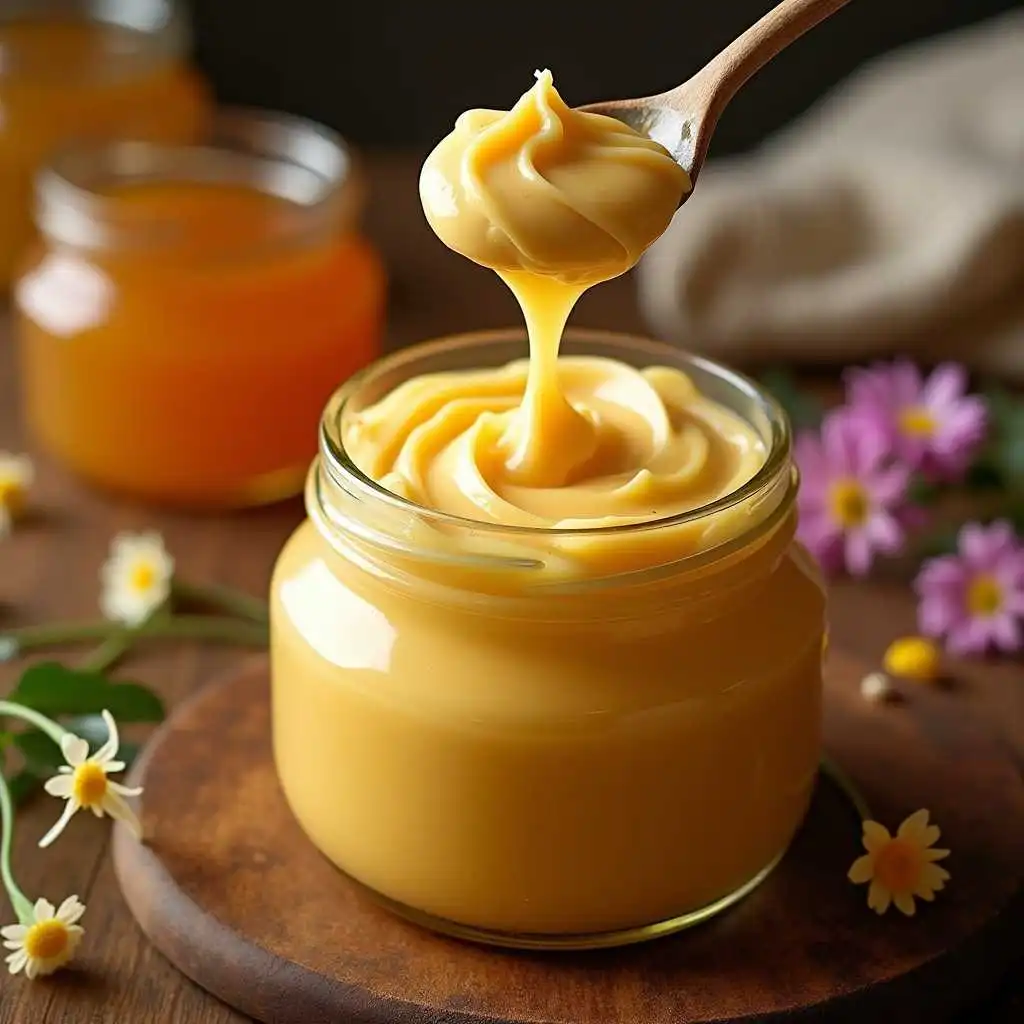
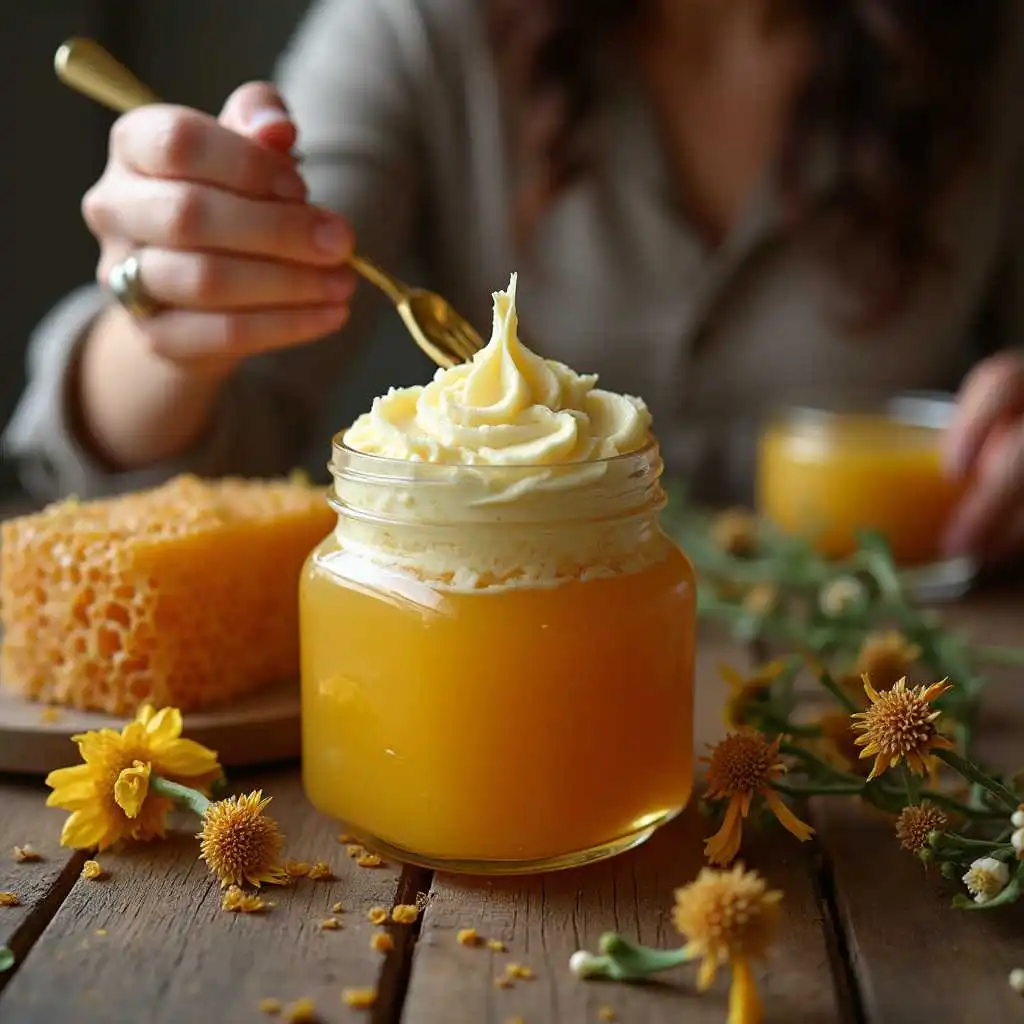
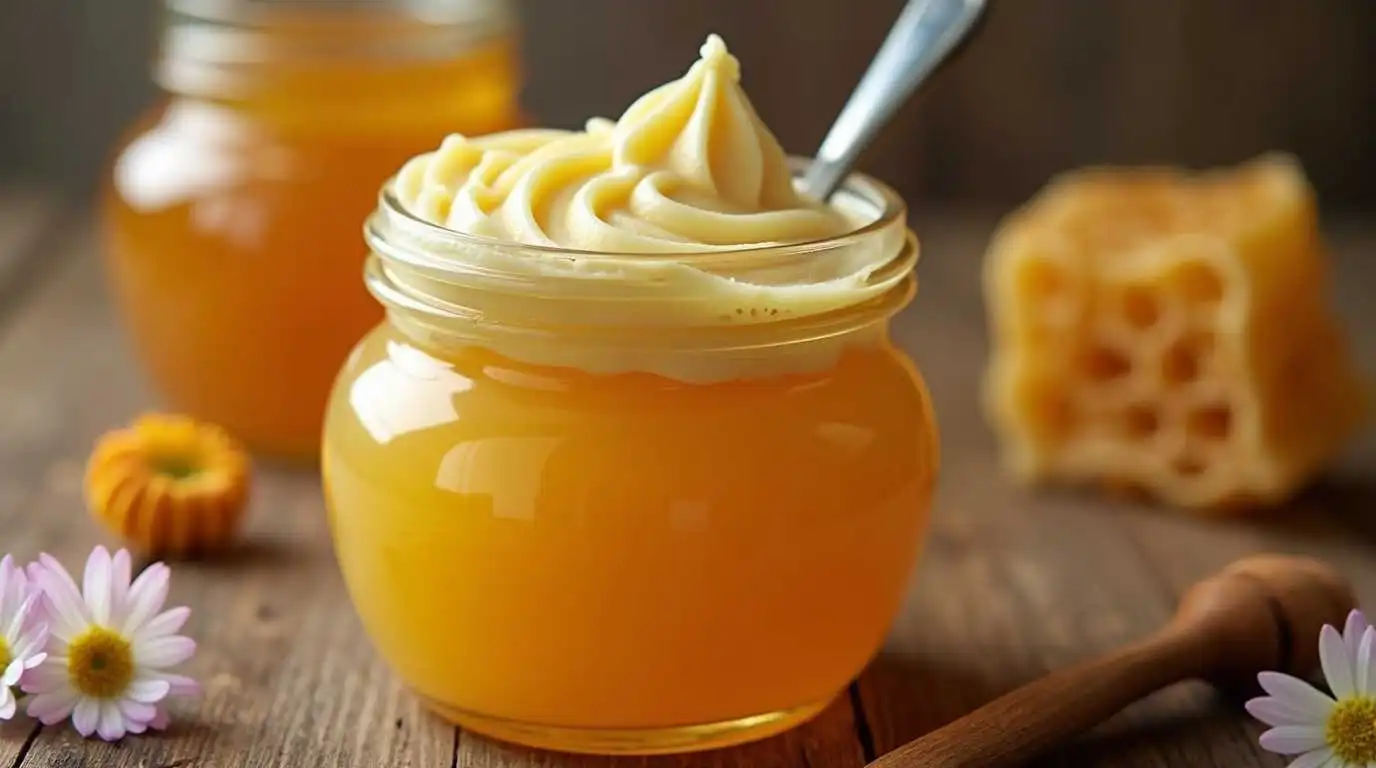
At its core, whipped honey is simply raw honey transformed through a specific process. By controlling how it crystallizes, you create a product with a silky, creamy texture that’s easy to spread and store.
The Science Behind Whipped Honey
Raw honey naturally undergoes crystallization over time. However, these crystals can vary in size, often resulting in a gritty or lumpy texture. Whipped honey leverages this natural tendency by encouraging the formation of tiny, uniform crystals, which create its smooth consistency.
This process doesn’t alter honey’s composition or nutritional value. In fact, it’s a way to maintain all the enzymes, antioxidants, and natural properties found in raw honey while enhancing its usability.
Why It Stands Out
Whipped honey is valued for more than just its luxurious texture. Its practical benefits make it a favorite among honey lovers:
- Mess-Free Sweetener: Liquid honey can drip and make sticky messes, but whipped honey stays put.
- Shelf Stability: The controlled crystallization prevents the gritty, overly hard crystallization that sometimes occurs with raw honey stored over long periods.
- Enhanced Culinary Appeal: The creamy texture makes it an ideal ingredient in recipes, spreads, or as a topping.
Why Make Whipped Honey at Home?
While you can find whipped honey in stores, making your own at home offers a level of satisfaction and customization that store-bought options simply can’t match.
Savings That Add Up
Store-bought whipped honey often comes with a premium price tag. By creating it at home, you can produce high-quality whipped honey at a fraction of the cost. The only investment is your time, a small price for something so rewarding.
Flavor Customization
One of the biggest advantages of making whipped honey yourself is the ability to customize it. Infuse it with the flavors you enjoy the most:
- Add ground cinnamon for a warming, spiced version.
- Stir in vanilla bean paste or extract for a classic touch.
- Experiment with citrus zest or dried herbs for something unique.
Control Over Quality
When you make whipped honey at home, you have complete control over the ingredients. You can choose raw, unfiltered honey from local sources, ensuring it’s free from additives and packed with nutrients.
Sustainable and Eco-Friendly
Making your own whipped honey reduces reliance on packaged products, contributing to less waste. Supporting local honey producers also promotes sustainability and helps protect bee populations.
Essential Ingredients and Tools
Ingredients: Your Foundation
To make whipped honey, you’ll need just a couple of simple ingredients:
| Ingredient | Amount |
|---|---|
| Raw honey | 2 cups |
| Seed honey* | 1/4 cup (optional) |
*Seed honey is previously crystallized honey that helps accelerate the controlled crystallization process in your mixture. You can use store-bought crystallized honey or save some from a prior batch.
Tools You’ll Need
While the process of making whipped honey is straightforward, having the right tools ensures success:
- Stand Mixer or Hand Mixer: Essential for aerating the honey and blending the seed honey evenly.
- Mixing Bowl: Choose a bowl with enough room to allow for thorough mixing without spilling.
- Storage Jar: Use a clean, airtight glass jar to store the whipped honey. Glass jars are preferred as they’re non-reactive and maintain the honey’s quality.
- Silicone Spatula: Makes transferring the mixture into jars easy and mess-free.
Step-by-Step Guide to Making Whipped Honey
Creating whipped honey is simple, but attention to detail is key. Let’s expand on the steps to ensure success.
Step 1: Prepare Your Ingredients
Start by ensuring your raw honey and seed honey are at room temperature. This prevents clumping during mixing and ensures a smooth texture. If your seed honey is too hard, warm it slightly by placing the container in warm water, but avoid overheating—it should remain under 95°F to preserve its raw properties.
Step 2: Combine and Mix
- Place the raw honey and seed honey in your mixing bowl.
- Start blending at a slow speed to avoid messes and ensure smooth mixing.Gradually increase to medium speed.
- Continue mixing for about 20 minutes. The process incorporates air and evenly distributes the seed honey, creating a uniform base for crystallization.
The texture after mixing should be slightly thick but still pourable, resembling a custard. This aeration is the foundation of whipped honey’s creaminess.
Step 3: Store and Wait
Transfer the whipped honey mixture into a clean glass jar, leaving a little space at the top to allow for expansion during the crystallization process. Seal the jar tightly and refrigerate for 1–2 weeks.
The cool environment slows down the crystallization process, ensuring fine, consistent crystals form. Patience is crucial here—rushing this step could result in uneven texture.
Step 4: Enjoy the Results
Once the crystallization process is complete, your whipped honey is ready to use. The texture should be thick, creamy, and easy to spread.
Tips for Perfect-Whipped Honey Every Time
Choose High-Quality Ingredients
Raw, unfiltered honey is non-negotiable. Its natural enzymes and particles are essential for the crystallization process. If possible, opt for local honey for its freshness and minimal processing.
Don’t Skip the Seed Honey
While you can technically make whipped honey without seed honey, it acts as a starter for controlled crystallization. Without it, the process may take longer or yield inconsistent results.
Consistency Is Key
During mixing, maintain a steady speed and ensure all the seed honey is evenly incorporated. Any lumps in the seed honey can result in a gritty texture.
Storage Matters
Always store whipped honey in a cool, dry place, away from direct sunlight. Although refrigeration helps during the initial crystallization stage, whipped honey doesn’t require refrigeration afterward.
Creative Uses for Whipped Honey


Whipped honey is more than just a sweet spread—it’s a versatile ingredient that can elevate your culinary creations.
Breakfast Staples
- Spread it over toast, muffins, or bagels for an indulgent start to your day.
- Pair it with pancakes or waffles instead of syrup for a rich, creamy topping.
Beverage Enhancer
- Stir it into tea or coffee for a touch of natural sweetness without the mess of liquid honey.
- Use it to sweeten smoothies or homemade lemonade.
Dessert Delight
- Drizzle it over yogurt, granola, or ice cream for added flavor and texture.
- Incorporate it into baked goods like cakes, cookies, or pastries for a unique twist.
Savory Pairings
- Spread it on warm cornbread for a sweet-savory contrast.
- Serve it alongside a cheese board—it pairs beautifully with cheeses like brie, goat cheese, or sharp cheddar.
Gift-Worthy Treat
Pack whipped honey into small jars, label them with creative names, and present them as gifts for holidays, birthdays, or special occasions.
Frequently Asked Questions About Whipped Honey
What’s the Difference Between Whipped Honey and Raw Honey?
Whipped honey is raw honey that has been aerated and crystallized for a smooth texture. Raw honey, on the other hand, is liquid and sticky.
How Long Does Whipped Honey Last?
When stored properly in an airtight container, whipped honey can last for up to a year without losing its texture or flavor.
Can I Make Whipped Honey Without Seed Honey?
Yes, but the process will take longer, and the results may not be as consistent. Seed honey ensures uniform crystallization.
Can I Add Flavors to Whipped Honey?
Absolutely! During the mixing stage, you can incorporate cinnamon, vanilla, or even a pinch of cocoa powder for flavored whipped honey.
Does Whipping Honey Destroy Its Nutrients?
No. The process doesn’t involve heating or adding chemicals, so all the natural enzymes, vitamins, and minerals remain intact.
Conclusion: Your Homemade Whipped Honey Journey
Creating whipped honey at home is a rewarding experience that combines culinary creativity with practical benefits. By following this guide, you’ll not only save money but also enjoy a product tailored to your tastes.
Ready to get started? Gather your ingredients, set aside some time, and enjoy the journey of transforming raw honey into a spreadable masterpiece. Your breakfasts, desserts, and gift-giving moments are about to get a whole lot sweeter!
Call-to-Action:
If you enjoyed this guide, share it with your friends and loved ones. Inspire them to embark on their own whipped honey adventure, and don’t forget to experiment with unique flavors and uses!
Suggestion: For a perfect pairing with your whipped honey, try baking a loaf of Starbucks banana nut bread. The combination of flavors will increase the enjoyment to breakfast and snacks.


3 thoughts on “Whipped Honey: The Ultimate Joyful Guide to Making Your Own at Home (2024 Edition)”